Transforming Pictures Into Perfect Stitches
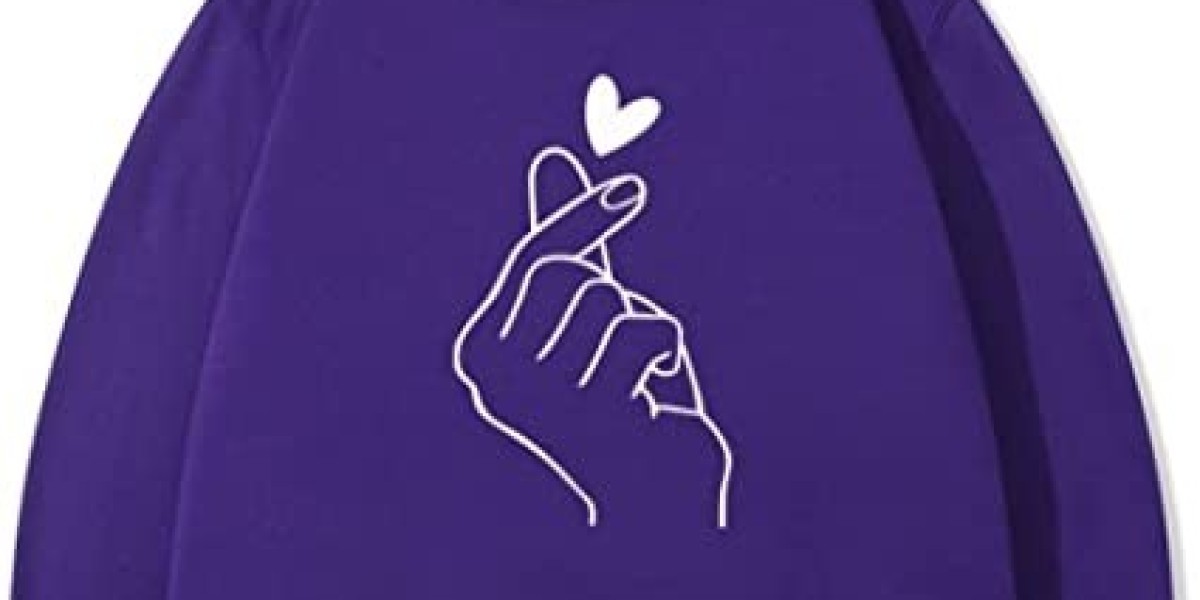
Ever wondered how photographs and artwork become beautiful embroidered creations? The magic happens through digitizing - the process of converting regular images into embroidery machine instructions. While professional digitizers spend years mastering this craft, you can learn the basics of how to digitize an image for embroidery right at home. This straightforward guide walks you through each step, from choosing the right image to stitching your final masterpiece.
Understanding Image Digitizing Basics
Digitizing for embroidery is fundamentally different from simple image editing. Instead of working with pixels, you're creating a roadmap of stitches that will recreate your picture in thread. The process involves:
- Analyzing which image elements will translate well to stitches
- Determining optimal stitch types and directions
- Planning color transitions and sequencing
- Accounting for fabric behavior
"Think of it like building with LEGO," explains digitizing instructor Mark Reynolds. "You're breaking down a picture into small, buildable units - only your bricks are stitches."
Choosing the Right Image
Not all images digitize well. Look for these characteristics:
Ideal Images Have:
- Clear, distinct shapes
- Good contrast between elements
- Minimal tiny details
- Bold outlines where needed
Problematic Images to Avoid:
- Blurry or low-resolution photos
- Images with subtle gradients
- Complex landscapes with too much detail
- Pictures relying on color blending
Pro Tip: Start with simple clipart or line drawings before attempting photographs.
Preparing Your Image
Before digitizing begins, optimize your image:
- Crop to focus on the main subject
- Adjust contrast to emphasize outlines
- Simplify colors - reduce to key tones
- Resize to your intended embroidery dimensions
- Save as PNG for clearest edges
Common Mistake: Trying to digitize an image that's too small - details get lost when scaled up.
Step-by-Step Digitizing Process
Step 1: Import Into Digitizing Software
Open your software and import the prepared image. Most programs allow you to:
- Adjust brightness/contrast
- Trace outlines automatically or manually
- Separate color areas
Beginner Recommendation: Use the manual tracing option for more control.
Step 2: Define Stitch Areas
Break your image into logical sections:
- Background elements first
- Main subject next
- Fine details last
Assign each section a stitch type:
- Fill stitches for large areas
- Satin stitches for borders and text
- Running stitches for delicate lines
Step 3: Set Stitch Parameters
For each section, adjust:
- Density (space between stitches)
- Direction (angle of stitches)
- Underlay (foundation stitches)
Start with these safe defaults:
- Fill stitches: 0.4mm density, varied directions
- Satin stitches: 3mm width, zigzag underlay
- Running stitches: 1.5mm length
Step 4: Sequence Your Stitches
Plan the sewing order carefully:
- Start with background elements
- Move to main subject
- Add details last
- Group colors to minimize changes
Pro Tip: Imagine building your design from bottom to top like layers.
Step 5: Add Stabilizing Elements
Include these invisible helpers:
- Underlay stitches beneath main areas
- Tie-off points to secure thread ends
- Pull compensation to account for fabric stretch
Testing and Refining
Never skip these crucial steps:
- Stitch a sample on scrap fabric
- Check for issues:
- Puckering or distortion
- Thread breaks
- Missing details
- Adjust settings and retest
Common Fixes:
- Add more underlay for puckering
- Increase density for sparse areas
- Simplify sections causing thread breaks
Choosing Your Materials
Your digitizing choices depend on:
Fabric Types:
- Cotton: Forgiving, good for beginners
- Knit: Requires more stabilization
- Denim: Needs stronger needles
- Sheer fabrics: Demands precise density
Thread Considerations:
- Polyester for durability
- Rayon for shine
- Cotton for matte finish
- Avoid mixing thread types in one design
Software Options for Beginners
Free/Low-Cost Choices:
- Ink/Stitch (Free with Inkscape)
- SewArt (Affordable, user-friendly)
- Embrilliance Essentials (Good starter package)
Professional Software:
- Wilcom Hatch
- Pulse IDS
- Tajima DG/ML
Practical Tips for Better Results
- Start with designs smaller than 4x4 inches
- Limit your first projects to 3-5 colors
- Use contrasting thread colors for clarity
- Keep a digitizing journal to record what works
- Practice with simple shapes before complex images
When to Consider Professional Help
You might want to hire a digitizer if:
- The image is crucial for business purposes
- You're working with tricky fabrics
- The design contains photographic elements
- You need multiple size variations
Maintaining Realistic Expectations
Understand that:
- Digitized images will never match photo realism
- Some artistic interpretation is necessary
- Your first attempts won't be perfect
- Practice dramatically improves results
The Reward of Hands-On Creation
There's something special about holding an embroidered piece that began as your digitized image. While the learning process requires patience, the ability to transform any picture into stitches opens up incredible creative possibilities.
Remember:
✔ Every expert was once a beginner
✔ Simple designs often yield the best results
✔ Mistakes are valuable learning experiences
Now that you understand the basic process, you're ready to select an image and begin your digitizing adventure. With practice, you'll develop an eye for what translates well to thread and hands-on experience with how stitches can recreate your favorite images.
What picture will you transform into embroidery first? The possibilities are waiting at your fingertips.